Published on January 26, 2026
How to Add Camera-Based Hat and Helmet Size Recommendations to Shopify

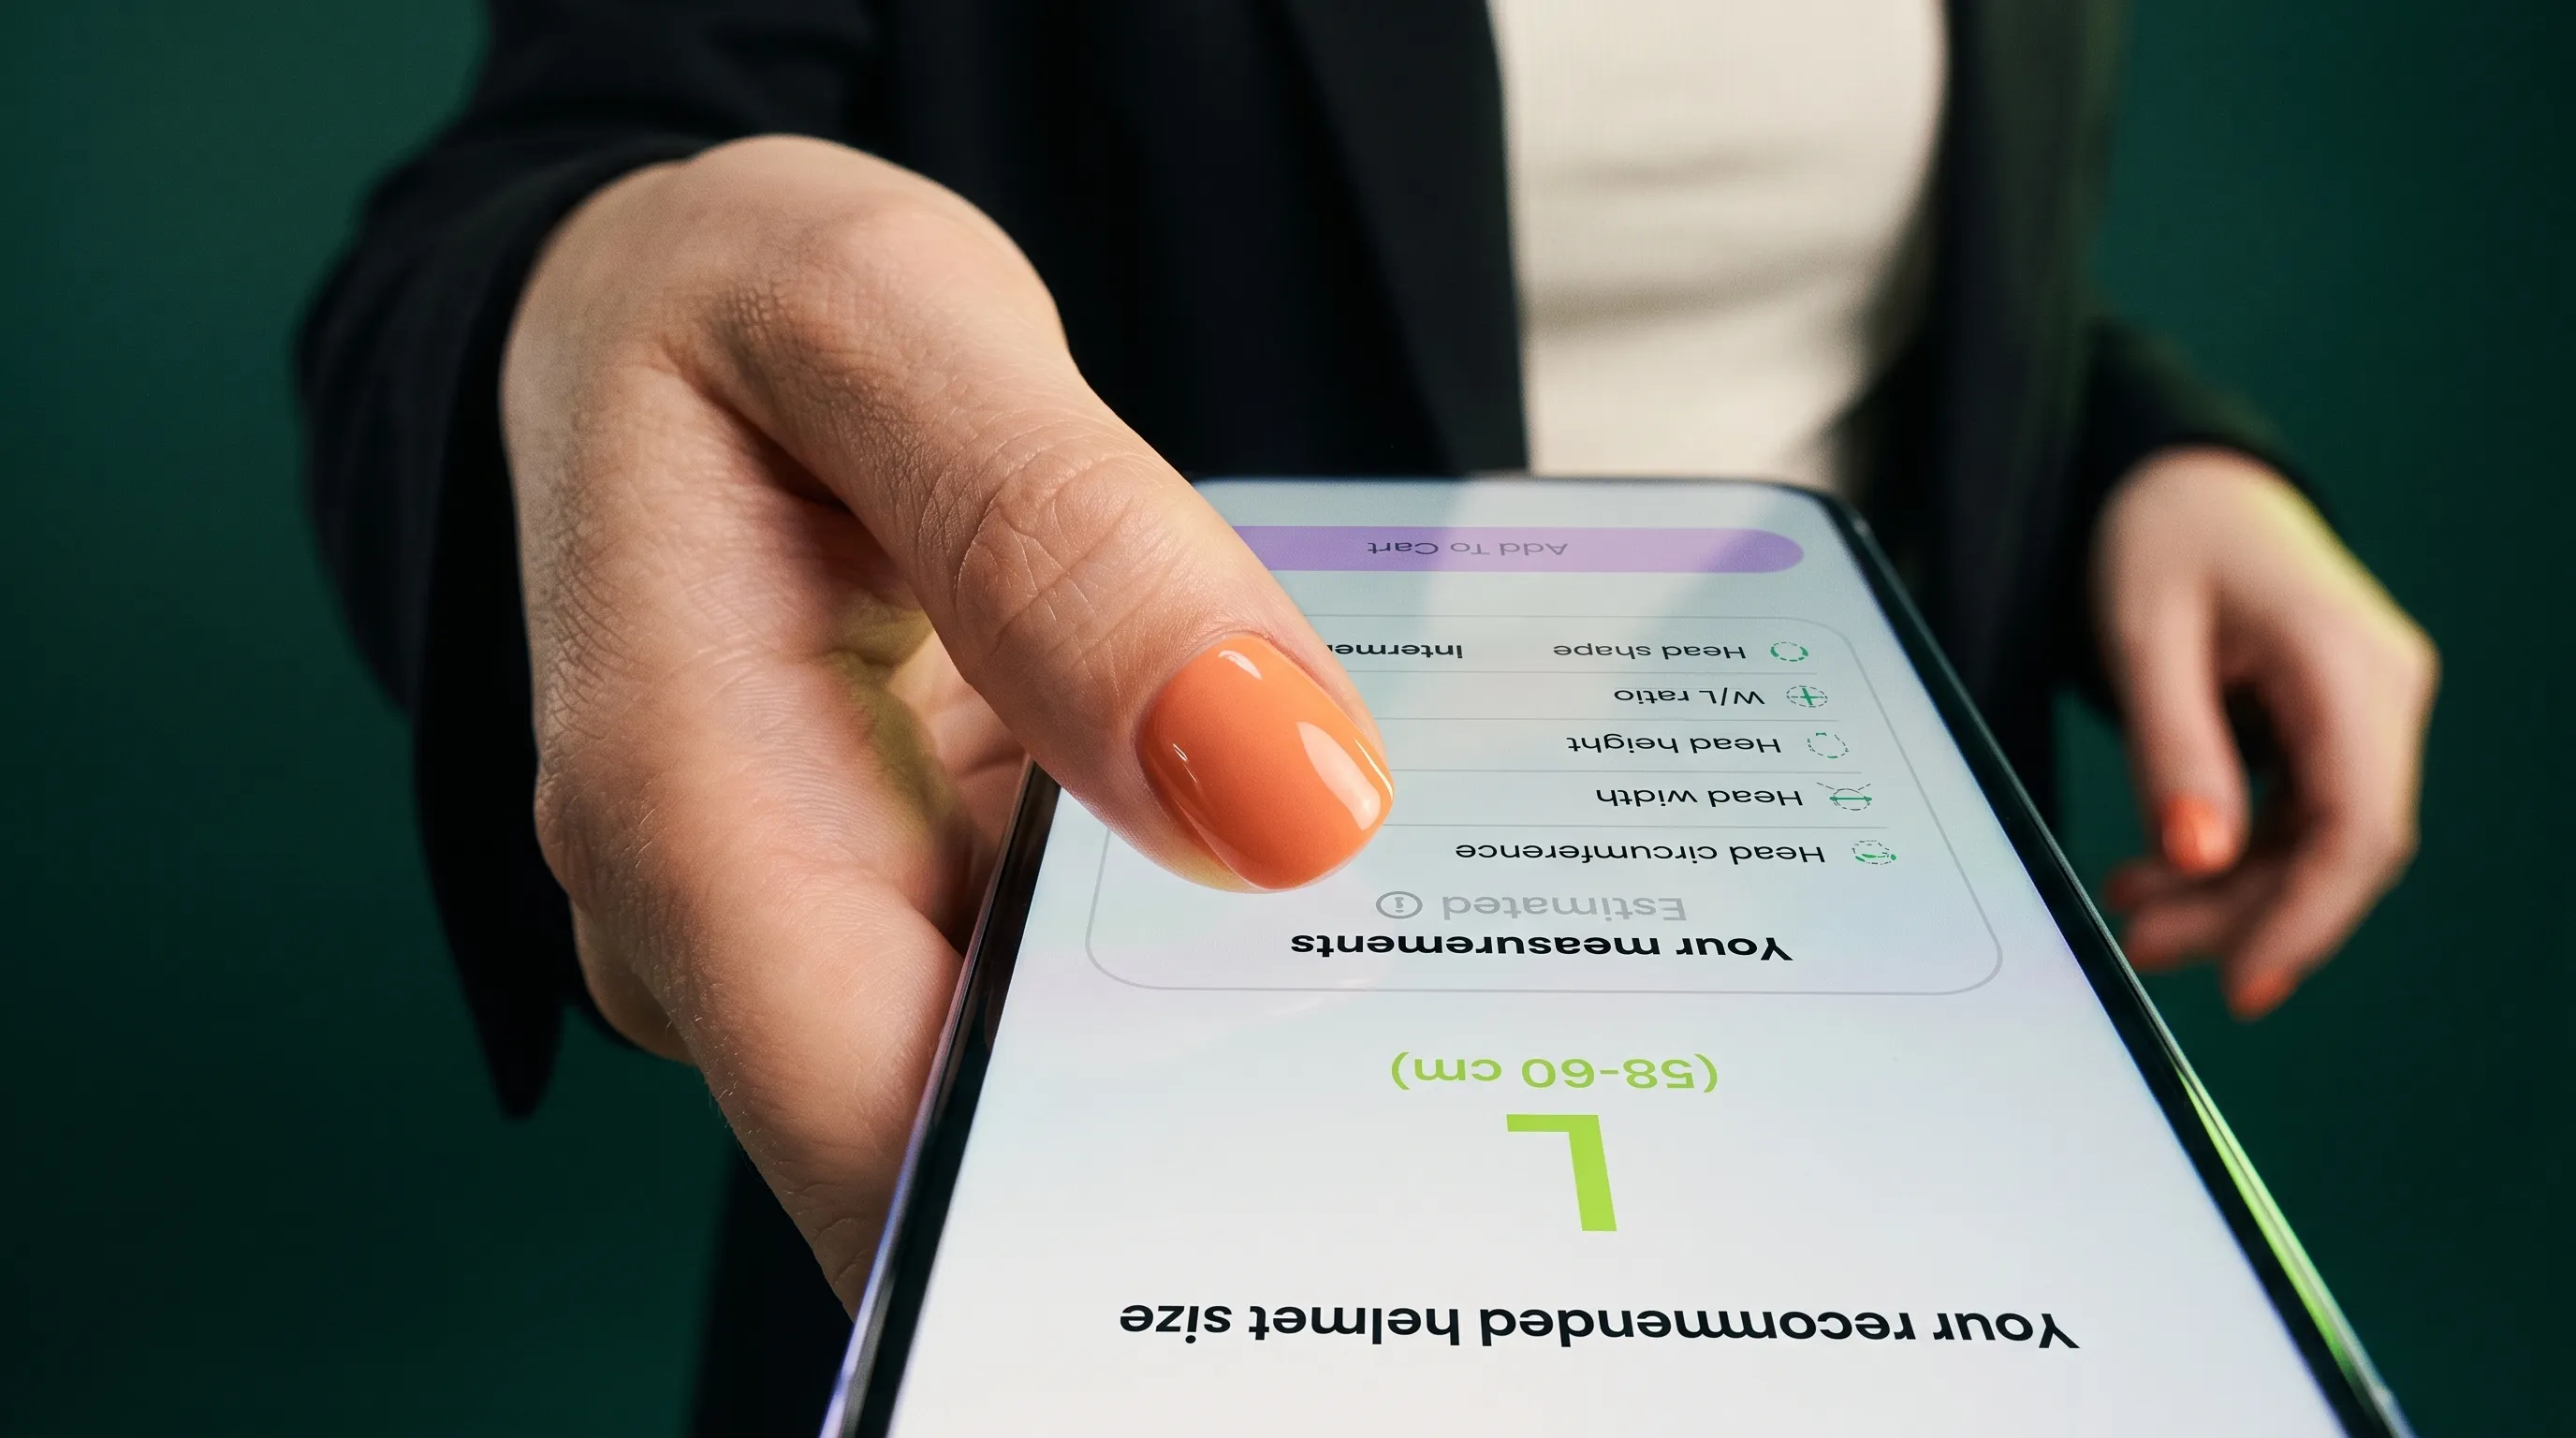
Your product page has a size chart. But how many of your shoppers actually own a flexible measuring tape?
Almost none. When shoppers can’t measure their head, they hesitate. They guess. They order both Medium and Large just in case (“bracketing”) and ship one back—or they abandon the tab altogether.
Every sizing hesitation costs you: lost checkouts, return shipping labels, and customer support tickets.
With TWIWT Head Measurement, you can give shoppers a clear size recommendation right on your Shopify product pages. Using the camera on their smartphone or desktop browser, customers measure their head circumference in seconds (no app downloads, no tape measure required).
Here is a practical, step-by-step guide to installing TWIWT Head Measurement, setting up your sizing thresholds, and helping your customers buy with confidence.
Before you start: TWIWT’s standard admin uses one shared measurement configuration across your store. If your catalog includes distinct brands with conflicting size charts or specialized helmet lines, review Step 5 before going live across all templates.
1. Gather your real sizing data (not hat dimensions)
Before touching your Shopify theme, pull together the manufacturer charts for your core products.
For each product or brand family, record:
| Data point | What to verify |
|---|---|
| Shopify product reference | Identify the exact products and variants that share this sizing scale. |
| Size selector labels | Note the exact labels customers see in your store (e.g., S, M, L or numeric hat sizes). |
| Head circumference values | Record the manufacturer’s recommended head circumferences in centimeters. Never substitute outer hat dimensions for head size. |
| Fitting notes | Keep brand-specific guidance, such as how to choose between border sizes or model-specific shell shapes. |
Group products only when they genuinely share identical sizing rules. Two hats labeled “Medium” from different suppliers often have different centimeter ranges.
If a manufacturer chart has overlapping boundaries (for instance, Medium is 56–58 cm and Large is 58–60 cm), decide your assignment rule upfront. This is especially vital for helmets, where manufacturer safety guidance dictates whether someone on the boundary should stay at the snugger shell or step up.
2. Install TWIWT Head Measurement and activate TWIWT Core in your theme
Open the TWIWT Head Measurement listing on the Shopify App Store and select Install. Follow Shopify’s standard permissions flow and select your store plan.
Inside the TWIWT Head Measurement admin:
- Go to App Setup.
- Under Step 1: Select the theme, choose your published theme (or a duplicate theme if you prefer testing on staging first).
- Under Step 2: Enable TWIWT Core, click Enable app embed block. This opens Shopify’s theme editor directly to the App Embeds panel.
- Verify that the TWIWT Core toggle is switched ON, then click Save in the top-right corner.
- In TWIWT Head Measurement, open Settings → Status. Make sure the status is set to enabled (Enable Head Measurement Tool) so the widget can display when you are ready.
Keep in mind: Theme activation (the app embed in Shopify) and the app’s internal status toggle are two separate switches. Both must be active for the tool to work on your live store. For more background on how app embeds work, see Shopify’s guide to using apps in themes.
3. Choose your measurement mode and display units
Navigate to Settings → Measurement Settings and locate Measurement Mode.
For hats, caps, and headwear sized by circumference, select Hats (measures head circumference). The settings menu also supports wigs and glasses, so confirm you have selected the headwear option before saving.
For helmet-focused stores, confirm your setup with TWIWT using your actual inventory. Standard settings use head circumference; if your helmets rely on model-specific shell shapes or distinct internal padding rules, TWIWT can help you configure product-level matching.
Showing numeric measurements alongside the size label
You can choose whether shoppers see their estimated head circumference in addition to their recommended size label (for example, “57 cm — Size M”):
- Ensure you have configured at least one sizing step (see Step 4 below).
- Toggle on Show exact measurement in units. (Note: “exact” is simply the interface label for displaying the numeric value; it provides a numeric reference rather than a guarantee of custom fit).
- Select your preferred unit: Centimeters (cm) or Inches (in), then click Save.
4. Enter your sizing thresholds in Measurement Steps
Open Settings → Measurement Steps and click Add Step.
TWIWT Head Measurement uses tiered upper-limit logic: it evaluates steps sequentially and assigns the first size label whose threshold is greater than or equal to the shopper’s measurement.
Each row requires two values:
- Measurement Value: The upper measurement threshold, entered in centimeters.
- Result Label: The size name your customer sees (matching your Shopify variant label).
Here is an example setup for a standard 4-size hat collection:
| Measurement Value (Upper limit in cm) | Result Label | Meaning |
|---|---|---|
| 54 | XS | Fits up to 54.0 cm |
| 56 | S | Fits 54.1 cm to 56.0 cm |
| 58 | M | Fits 56.1 cm to 58.0 cm |
| 60 | L | Fits 58.1 cm to 60.0 cm |
Note: These are illustrative values. Always input your actual manufacturer thresholds.
With these settings, a shopper whose head measures 57 cm receives a recommendation for M, while someone measuring 56 cm receives S. Once your tiers are entered, click Save.
Two critical rules to remember:
- Always enter threshold values in centimeters, even if you set your storefront display to inches.
- Review your outer boundaries. Ensure your tiers accommodate the realistic range of your customers. If a shopper’s measurement falls above your highest threshold or below your lowest, confirm how you want your product page to guide them.
5. Check which products can share the configuration
The standard TWIWT Head Measurement admin manages one shared sizing configuration across your store. Adding the measurement button to a product page applies that single set of steps.
Consider this common retail scenario:
| Product | Manufacturer chart | Label needed for 57 cm |
|---|---|---|
| Brand A Fedora | Medium: 56–58 cm | M |
| Brand B Flat Cap | Large: 56–58 cm | L |
Because Brand A and Brand B define sizes differently, a single shared threshold curve cannot recommend the right size for both.
Before launching across your whole catalog:
- If your headwear lines share identical sizing tiers: You can safely activate the measurement button across all product pages.
- If you carry multiple brands with conflicting charts or specialized helmet lines: Group your products by sizing chart. Contact TWIWT to arrange product-specific chart mapping so each product page reflects its brand’s true rules. You can review how this works in TWIWT’s Head Measurement Tool documentation.
6. Place the measurement button near the size selector
To turn browsing shoppers into confident buyers, place the measurement entry point right where hesitation happens: next to the size picker and “Add to Cart” button.
- In TWIWT Head Measurement, go to App Setup.
- Under Step 3: Add the “Measure” Button, click Add App Block. This opens your product template in the Shopify theme editor.
- Drag the measurement block directly above or below your theme’s variant selector.
- Click Save in the theme editor.
- Repeat this check for any custom product templates used by your headwear catalog.
If your theme does not support app blocks directly, reach out to TWIWT through the in-app Help Center for placement assistance.
Best practice: Offer two clear sizing paths
Always give your shoppers an easy choice:
- A prominent camera measurement button (e.g. “Measure my head”).
- A clear text link to your standard static size guide.
Shoppers who already know their hat size or cannot use a camera need to view your chart in one click. Shoppers without a tape measure can launch the camera tool. Giving both options prevents drop-offs.
7. Test the full shopper journey (Mobile + Desktop)
Before driving traffic to your updated product pages, test the flow yourself on both a smartphone and a laptop. TWIWT’s listing demonstrates the guided shopper experience: positioning the head in the frame, turning left, and turning right.
Walk through these quick acceptance checks:
- Camera permissions: Does the camera prompt open smoothly and explain why access is requested?
- Guided flow: Can you complete the head positioning and turns without friction?
- Threshold check: Does the displayed size label match your configured threshold rules? (For example, does a 57 cm measurement correctly recommend size M?)
- Variant selection: Does the result card make it effortless for the shopper to return to the page and select the corresponding variant?
- Inventory check: What happens if the recommended size is out of stock? Ensure your page makes stock status clear so shoppers do not unintentionally select an ill-fitting neighbor size.
What if your store already uses a size-chart app?
Many Shopify merchants already use apps like Kiwi Sizing or Clean Size Charts. You do not need to choose between them because they serve complementary roles.
Your size-chart app acts as the comprehensive reference library, detailing garment dimensions and care notes. TWIWT Head Measurement acts as the shopper’s instant personal measuring tape.
If you run both on your store, keep these best practices in mind:
- Maintain data independently: TWIWT Head Measurement does not automatically sync tables from third-party size apps. If your supplier updates a size chart, update both your size-chart app and your TWIWT measurement steps.
- Check layout on mobile: Open a product page on a mobile device to ensure the measurement button and the size-guide link do not overlap or crowd the buy box.
- Label clearly: Ensure the button labels distinguish between reading the static size guide and starting camera measurement.
- Smooth closing: Verify that closing the measurement modal leaves the customer on the product page ready to buy.
For stores using advanced chart assignments (such as Kiwi’s collections-based priority matching, as outlined in their product-matching documentation), verify how your templates present both tools to the shopper.
For helmets: Keep physical safety and fit guidance front and center
Helmets are protective safety equipment. A camera measurement provides an excellent baseline recommendation, but customers must still follow manufacturer fit instructions before hitting the road, trail, or slopes.
As motorcycle helmet manufacturer SHOEI highlights in their sizing guidance, circumference alone cannot determine helmet fit. Head shape—whether round oval, intermediate oval, or long oval—and internal cheek pad pressure determine whether a helmet will protect properly and stay comfortable.
When selling helmets online:
- Use camera measurements to guide shoppers to the correct shell size.
- Keep the manufacturer’s physical trial checklist clearly visible on the product page.
- Remind riders to test retention and cheek-pad snugness at home before removing tags or riding.
Start with your bestsellers and expand
You do not need to overhaul your entire catalog in an afternoon.
Start with 3 to 5 bestseller hats or helmets with dependable sizing charts. Configure your thresholds, place the button on the product template, and walk through the test flow. Once you see customers moving from size hesitation to confident checkouts, roll out the tool across the rest of your catalog.
Ready to eliminate sizing guesswork on your store?
Install TWIWT Head Measurement on Shopify and activate camera head measurement in minutes.
Need multi-brand chart mapping?
Request a branded demo with your products and sizing rules to see how TWIWT fits your catalog.
Related articles
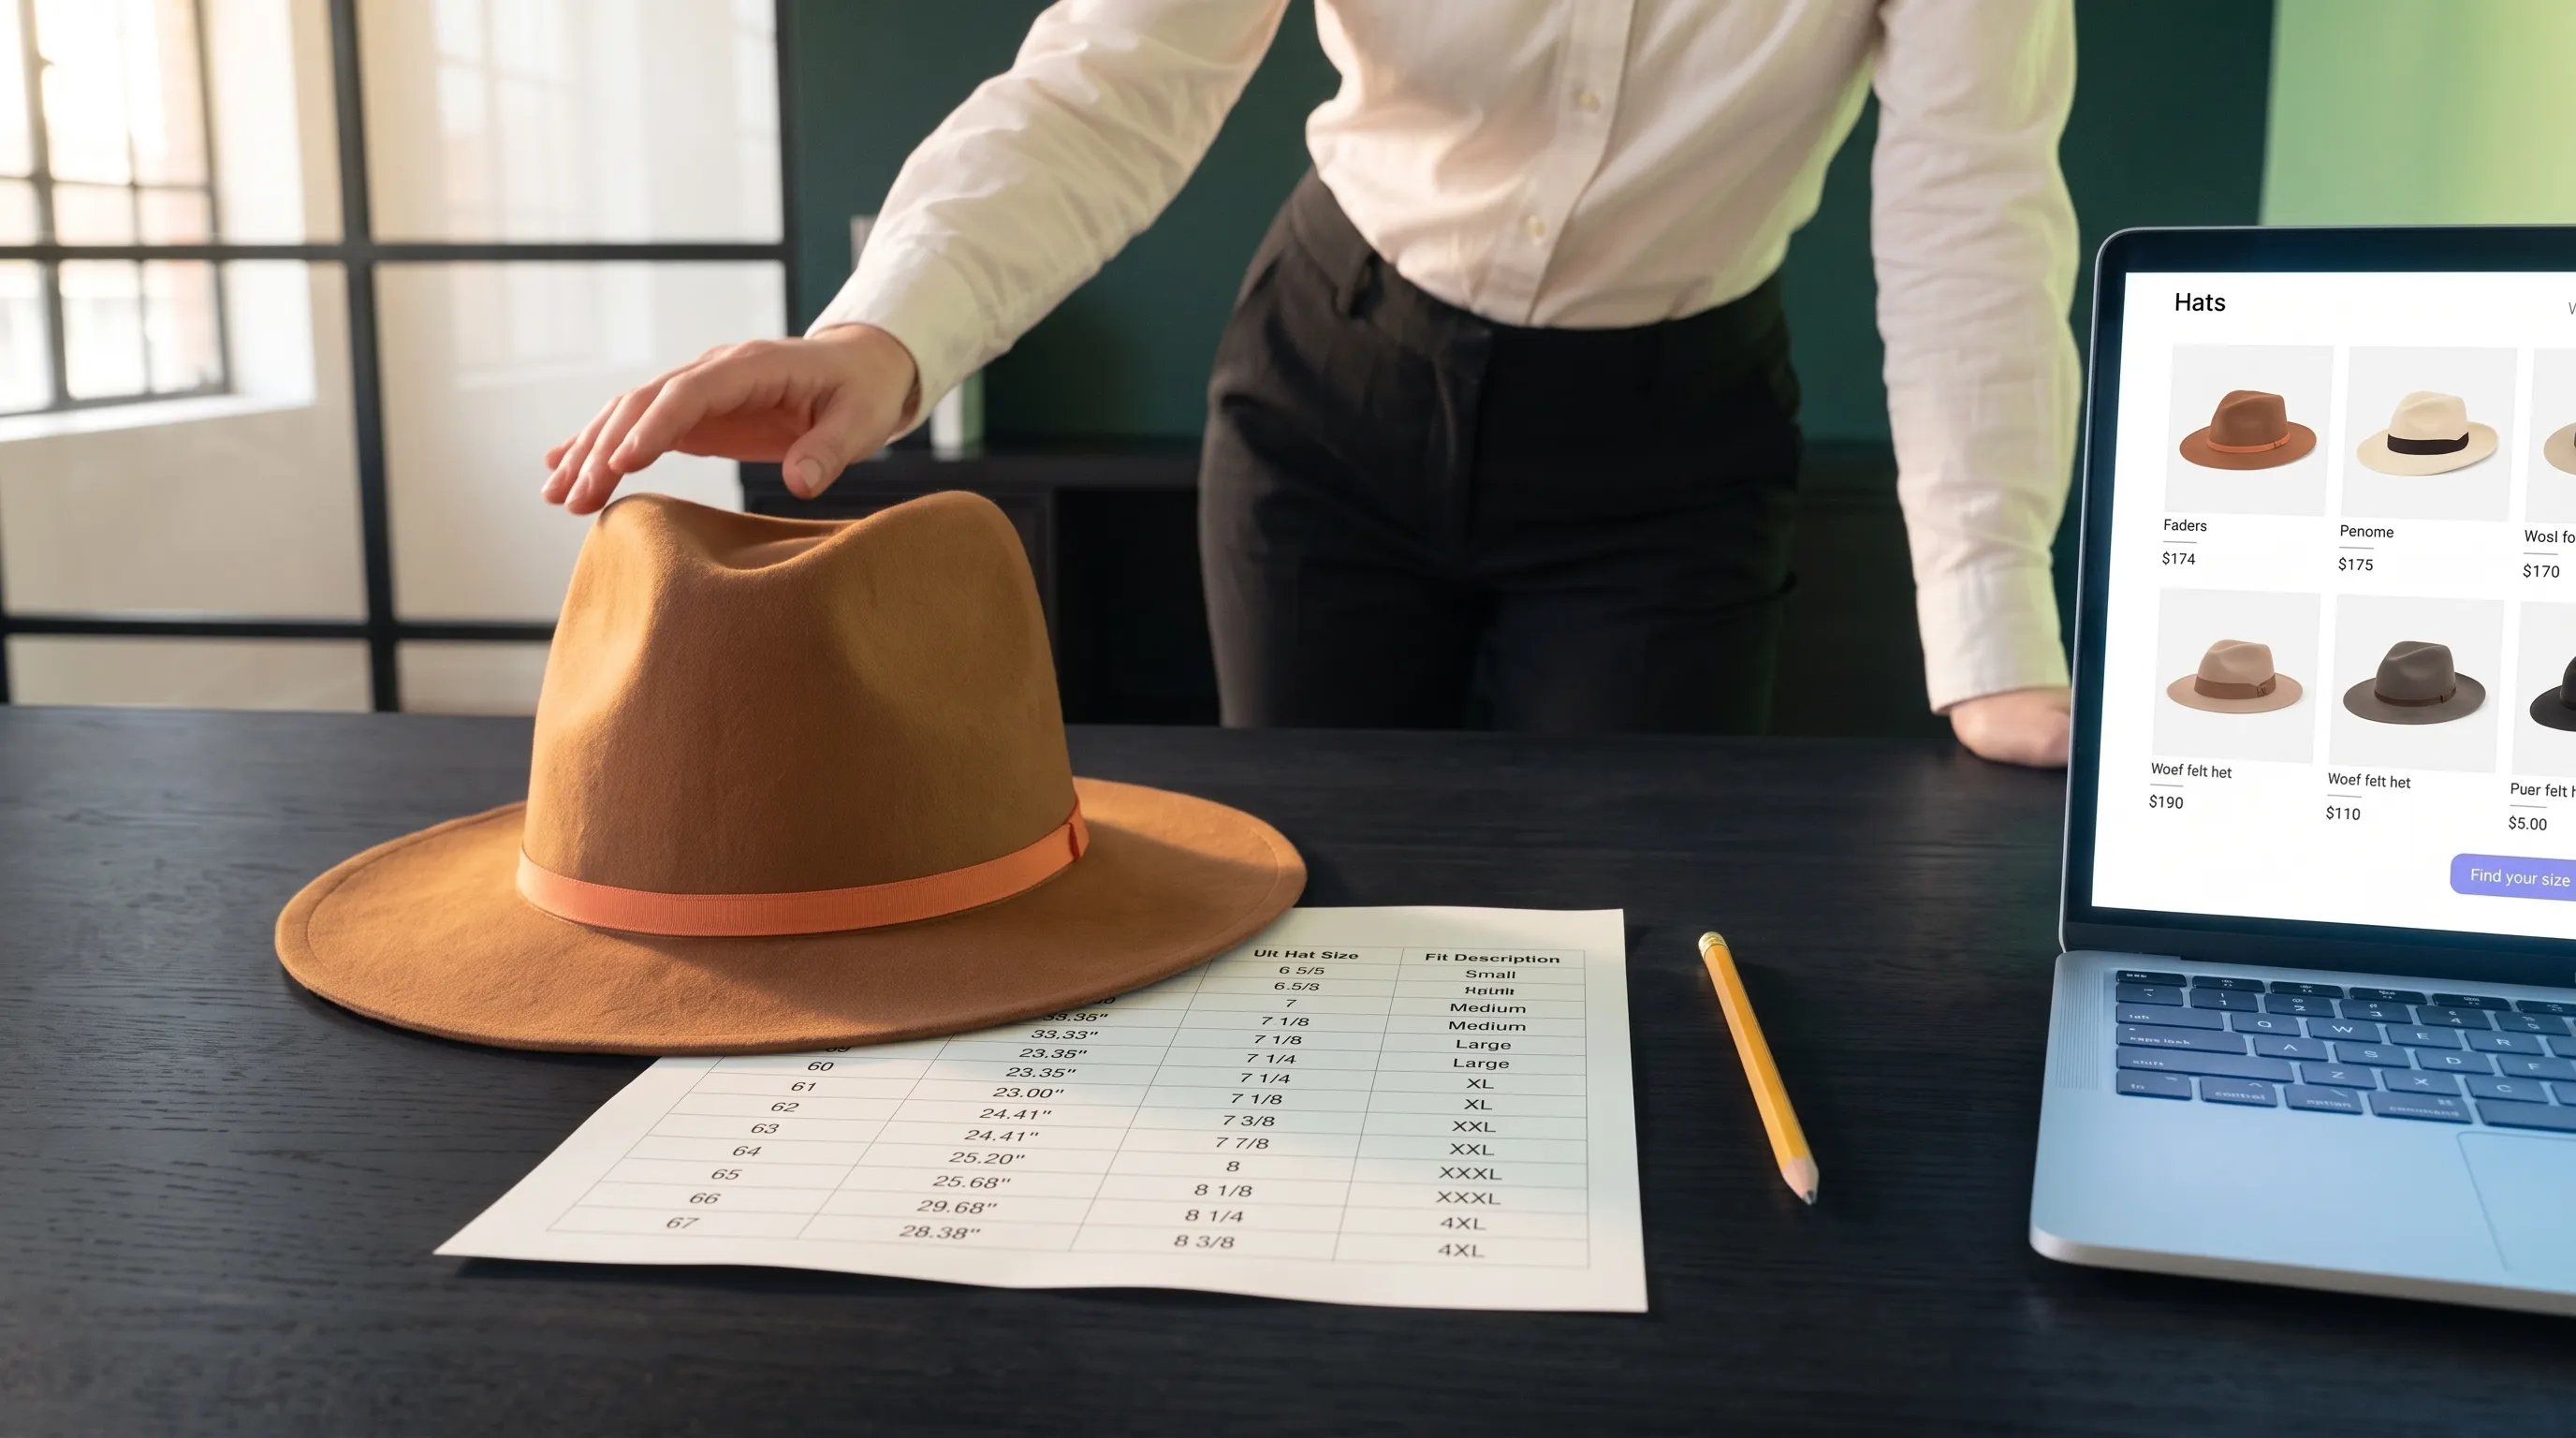
How to Add Size Charts to Hat and Helmet Product Pages
Stop wrong-size returns and cart hesitation. Learn how to add product-specific hat and helmet size charts to Shopify and WooCommerce with popups, cm/in units, and a mobile-friendly setup.

How to Manage Size Charts and Head Shape Rules for a Multi-Brand Helmet Store
A practical framework for multi-brand helmet stores: verify manufacturer size charts, preserve head-shape guidance, map products, and keep sizing updates in sync.

How to Reduce Helmet Sizing Questions and Wrong-Size Returns in Your Online Store
Size chart live, but sizing tickets and returns keep piling up? Audit head measurements, model charts, size boundaries, head shape, support routing, and physical fit checks.